Get your iPad some new friends and turn them into a portable recording studio

While making a recording using iPad’s built-in microphone will “do the job”, you can improve recording quality with just a few extra things, and more importantly – it doesn’t cost a fortune to buy some cool and good quality gadgets. A standard “home studio” setup would require a microphone (including mic stand and cable), audio interface, and headphones.

Microphone

First, you will need a microphone. Microphone is a single item that affects the quality of your recording the most. However, buying just a microphone will is not an option since you can’t plug it into your iPad directly. You might already have a microphone but if you don’t, these are some good options that cost around $100: 

  • Microphone: Audio Technica AT2020

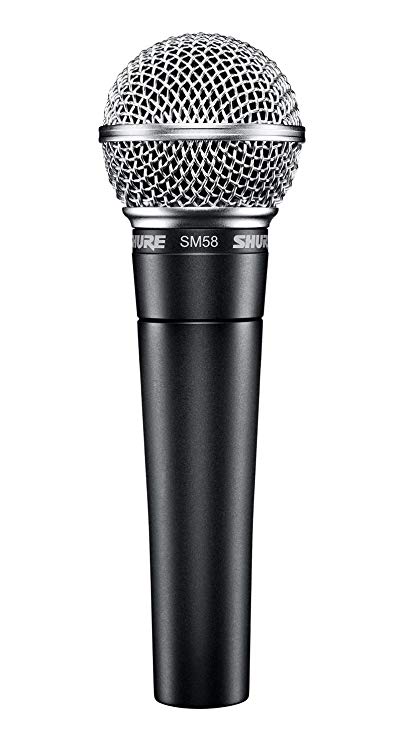
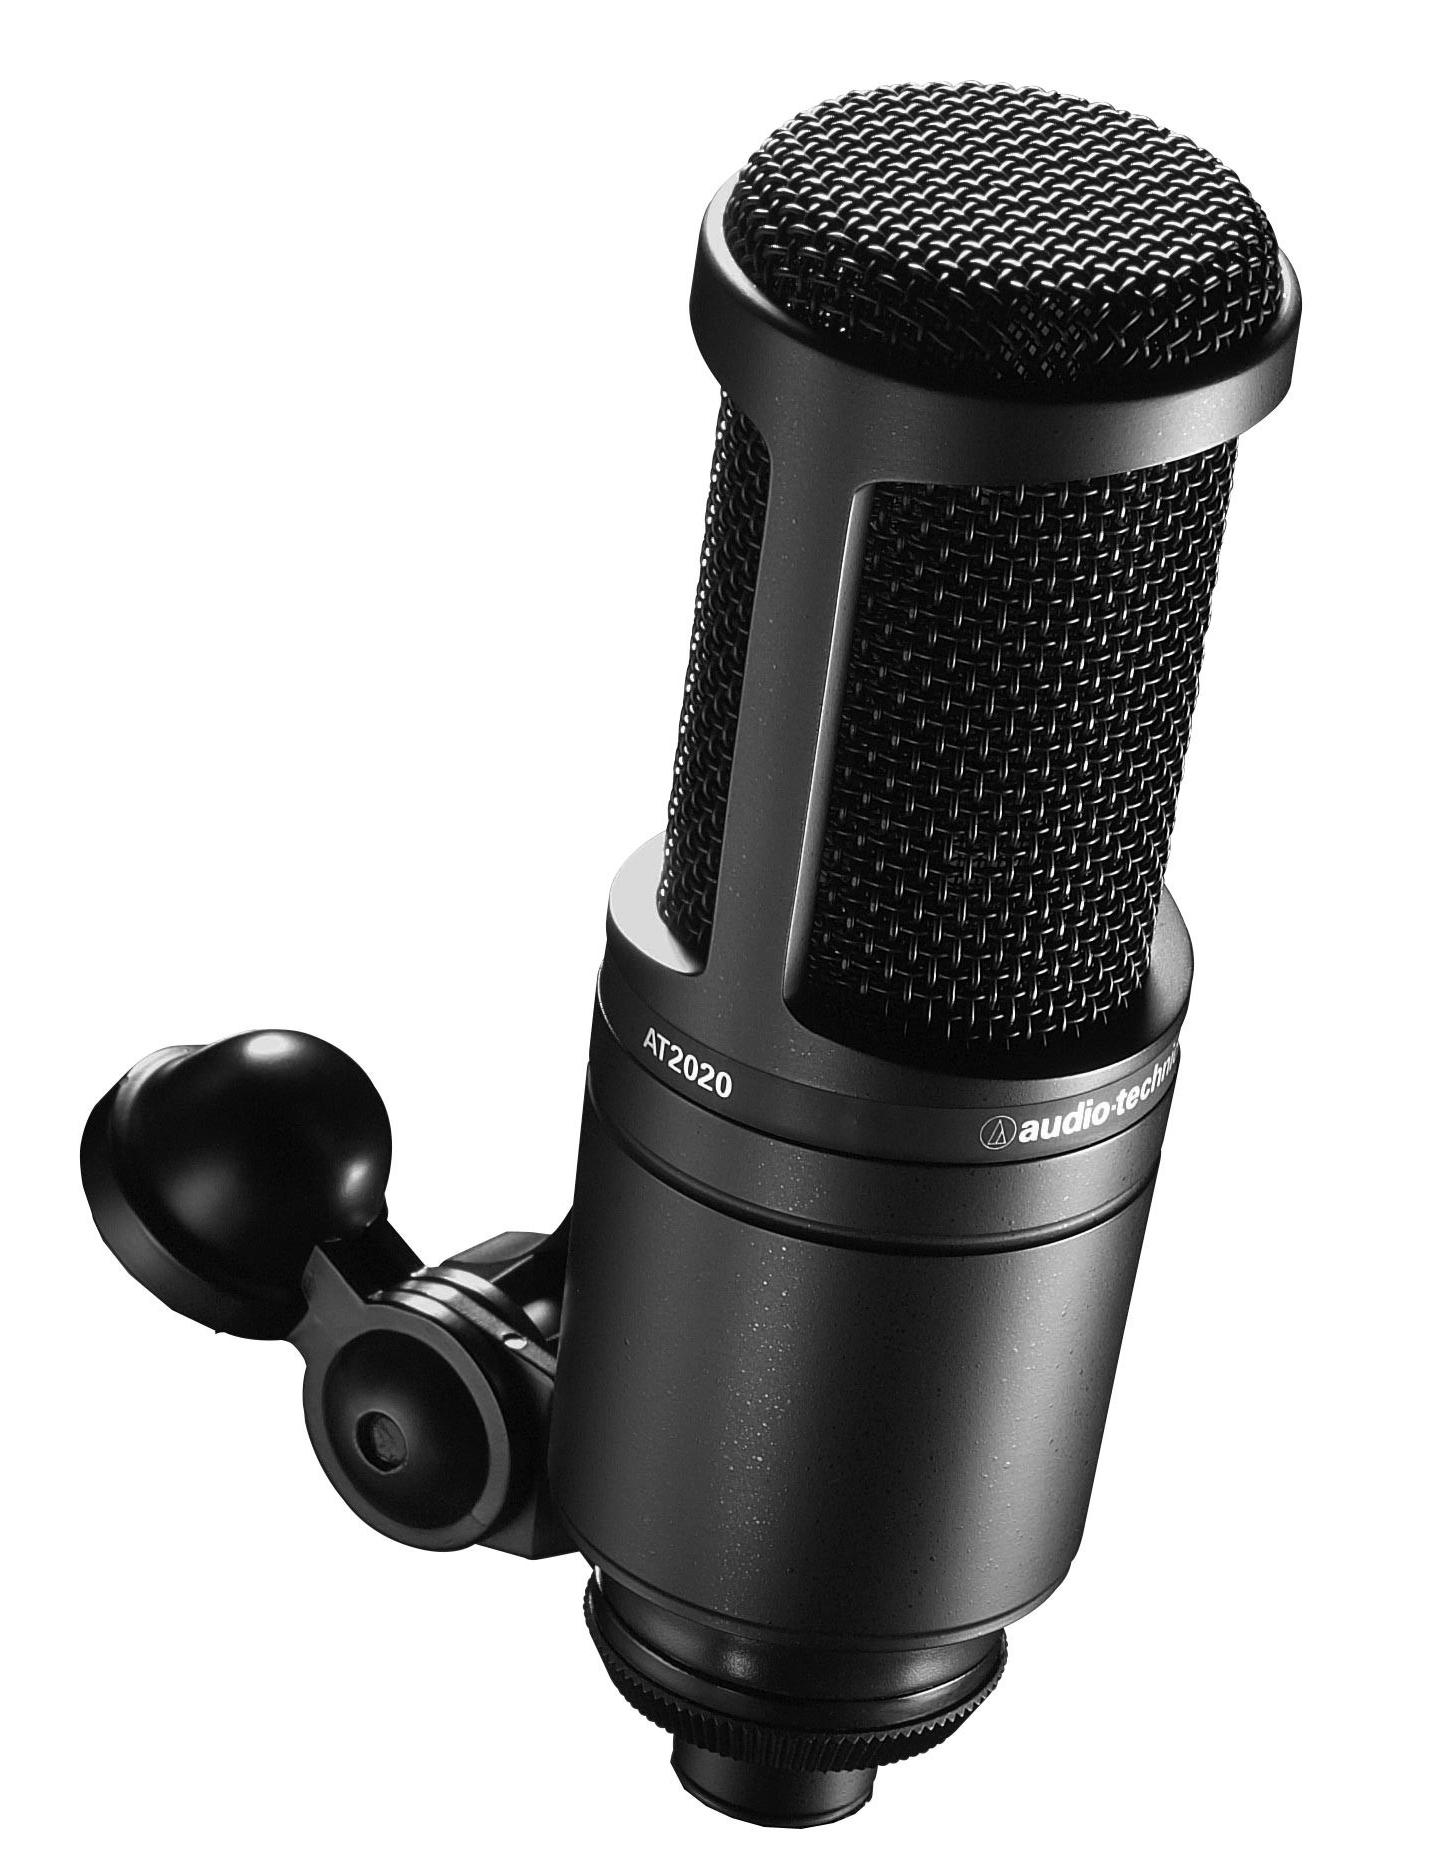
Shure SM58 is a dynamic microphone which means that is more robust and doesn’t require phantom power, and Audio Technica AT2020 is a condenser microphone which means it is more sensitive and requires phantom power.

(Neumann did a great job explaining the difference between the dynamic and condenser mics, and what the phantom power is. If you prefer to watch a video, here’s a good one https://www.youtube.com/watch?v=2edewYkE_f0.)

If you have a microphone, you might also have a microphone cable around. If you don’t you should get an XLR cable. Having a mic stand is also a good idea.

Audio Interface

Arguably the most important piece of equipment is audio interface. In tech language, interface means that it allows interaction/communication between different devices and/or equipment. Audio interfaces generally allow you to plug in microphones, guitars, headphones, speakers, and connect all of that to a computer or iPad.

A great audio interface with a friendly price tag is PreSonus AudioBox iTwo. This interface has two inputs which means that you can record two voices at the same time or record voice and guitar for example. More importantly this interface can work iPads.

PreSonus AudioBox iTwo

There are of course many other options but you should make sure that the interface can work with the iOS devices (iPads and iPhones) as not all of them do. 

Headphones

It is not necessary but it’s good to have a pair of good headphones, especially if you record with a backing track. Using headphones will make sure that you can hear the track but the track is not going into the microphone. Basically, options for headphones are limitless but you should make sure that you can plug them into your interface headphone output – usually a 1 / 4” (guitar cable size).

Audio Technica ATH-M20x

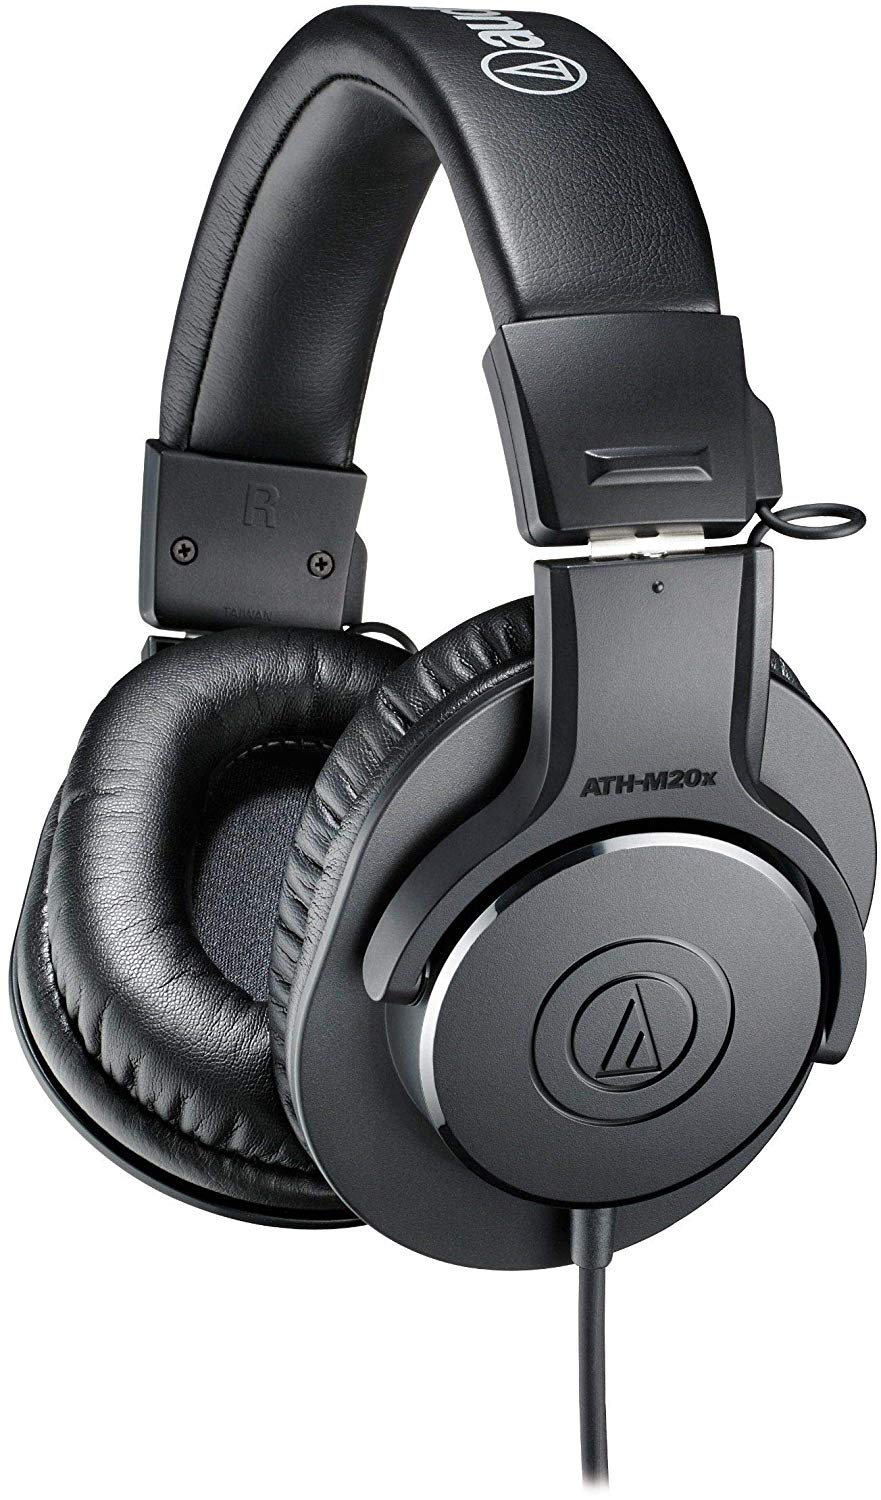
Audio Technica ATH-M20x is a pair on the affordable side ($50) of the great line of professional monitoring headphones by Audio Technica (more expensive models are more than $150).

Speaker

Sometimes you just want to hear back what you recorded and iPad’s built-in speaker is often not loud enough, especially in the group setting. Having a bluetooth speaker is an easy fix to this issue. You can find great speakers starting at about $20. I would say that the only catch is to make sure that the speaker has an AUX input because a wired connection can sometimes be much easier and more reliable than bluetooth.

iPad: Guided Access and Garage Band

Scenario: You want to play a flute with the client but you don’t have a flute. However, you do have an iPad on you with GarageBand installed. You open GarageBand choose flute and give the iPad to client but very quickly, the client has quit the app accidentally and is now looking through your iPad.

What can you do to prevent this?

Use Guided Access – a built-in accessibility feature on iOS devices that allows you to make only a part of the screen responsive. Setting it up is quick and easy, and this feature can come in very useful when a client is using iPad in a session.

Setting up Guided Access

Navigate to Settings > General > Accessibility > Guided Access and make sure that Guided Access is enabled.

Using Guided Access

Open GarageBand and set up the virtual instrument. Once you set everything up press the Home Button three times. Mark the area you want to restrict and tap start in the top right corner. You can circle/mark as many areas as you want; it doesn’t have to be just a big block.
You will be prompted to set a passcode for Guided Access (it can be the same as the iPad passcode). You will need this passcode to make changes to or end Guided Access.

Ending or making changes to Guided Access

Press Home Button three times and type in the passcode. You can make changes to what you want to restrict and resume guided access or end it.

Emotions Choice Board on iPad

Offering different choices for clients can sometimes be tricky, especially if the choices are presented one by one and not at once. Often times, the client just goes for the first choice because it was presented first. You can easily create a choice board, using an iPad and Keynote app. The advantage of having the choice board on iPad is that you can easily make changes and you can even use camera to take a picture on the spot. Moreover, you can add audio feedback of client’s choice.

Let’s start:

Add all the pictures (choices) on the first slide

Our first slide will be our “home” slide. In this case, I will add 6 pictures but you can add only 2 or as many as you like.

Add single pictures to new slides (Optional: resize them to cover whole slide)

This will be our “landing” pages and will serve as a feedback on what the client choose.

Link photos from the first slide to the respective slides

Let’s go back to the first slide and tap on a picture. Wait until options menu shows up, tap Link, then Link To Slide… and choose the correct slide number. Repeat the process for the other choices.

Duplicate the first (home) slide after each of the single photo slides

Tap the first slide on the side and choose Copy from the menu that pops up. Tap on every “landing” slide and choose Paste. We just created an endless loop by doing this.

Add audio feedback

Go to a landing slide and tap the + (Add button) in the top right corner – choose Record Audio. Record audio and edit/trim it if needed. Once you’re satisfied Insert the audio.

In order to make it play as the slide appears, we have to “animate” it. To do so, tap the audio icon and wait for the menu to pop-up. Once you see the menu, tap Animate. Tap Add Build In and choose Start Audio. Now tap the X sign to the left. Tap Start Audio and set Start to After Transition. Here you can also make the start of the audio delayed if you want to. Make sure to click Done in the top right to confirm the changes. Our landing slides will also give us audio feedback when they open.

Presentation Mode

Now, to run this as an “app” just start the presentation by tapping Play button in the top right. Tap on any of the pictures to make a choice and once on a “landing” slide, tap anywhere to return to “home” slide.

You can use other apps such as Google Slides or PowerPoint, just be aware that Google Slides will not allow “presentation mode” if you are not connected to the Internet.